Grandma's Cheesecake
Truly the best cheesecake you will ever have...once you have perfected the technique! The recipe is simple, but as with many baked items, getting the technique right can be tricky. It took us 6 tries (with feedback from grandma for guidance) to get right, so along with the simple recipe, we have included our details to shorten your learning curve. Enjoy!
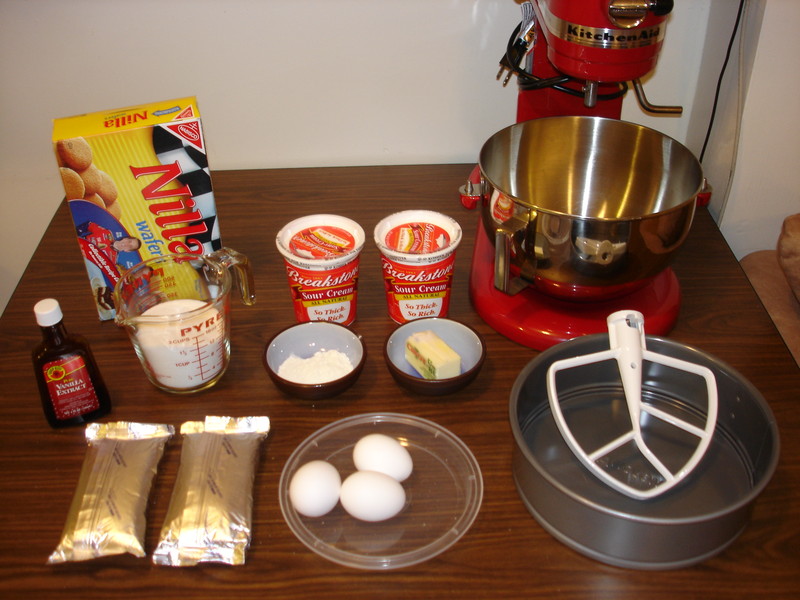
Ingredients:
- 1 pound cream cheese (2 * 8oz. packages), not low- or reduced-fat
- 3 beaten eggs
- 3 cups sour cream (~2 containers), not low- or reduced-fat
- 1 cup sugar
- 1 Tablespoon flour
- 1/4 teaspoon vanilla extract
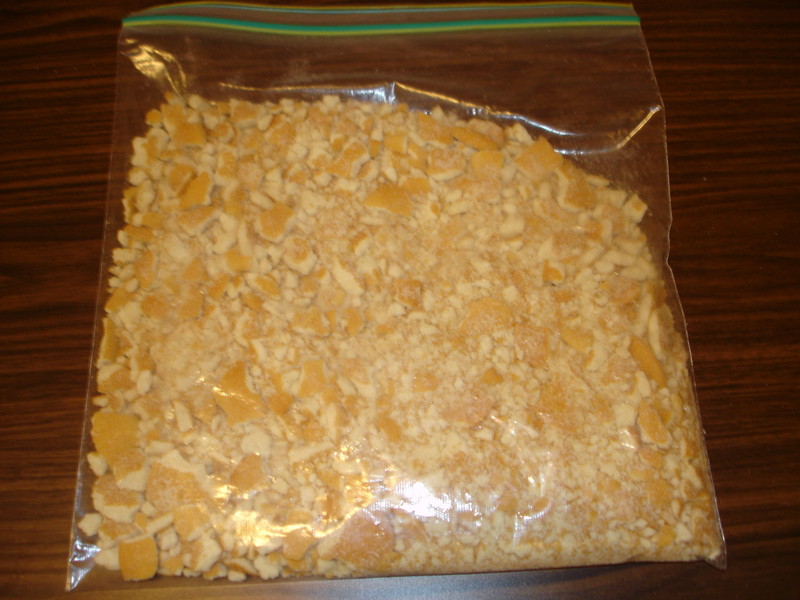
- 1-1.5 cups crushed vanilla wafers (requires ~1/2 of a 12oz box)
- 1/2 cup melted butter (= 1 stick = 1/4 pound)
You will also need:
- 1 stand mixer with paddle or a dual-beater hand mixer
- 1 9" spring-form cake pan
- 1 10" * 10" (or larger) cookiesheet with edges
Instructions:
- Set out all dairy ingredients to warm to room temperature (60-70 degF), removing any outer packaging to accelerate the process. This will take 1-2 hours, during which time the other ingredients can be prepared.
- Batter preparation will require approximately 35 minutes. Pre-heat the oven to 375 degF early enough for it to be ready when you are done preparing the batter.
- While the oven is heating, crush enough vanilla wafers (about 8 ounces weight) to make 1.5 cups of crumbs. A rolling pin and a zip-lock bag do well here, as does a food processor. (Don't over process it, as you don't need particles much smaller than 1/8 inch and some large chunks are fine.)
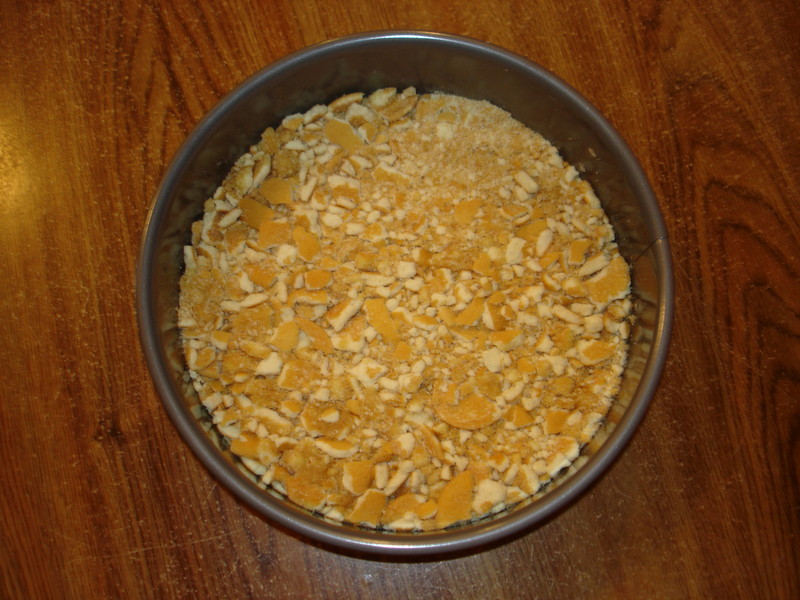
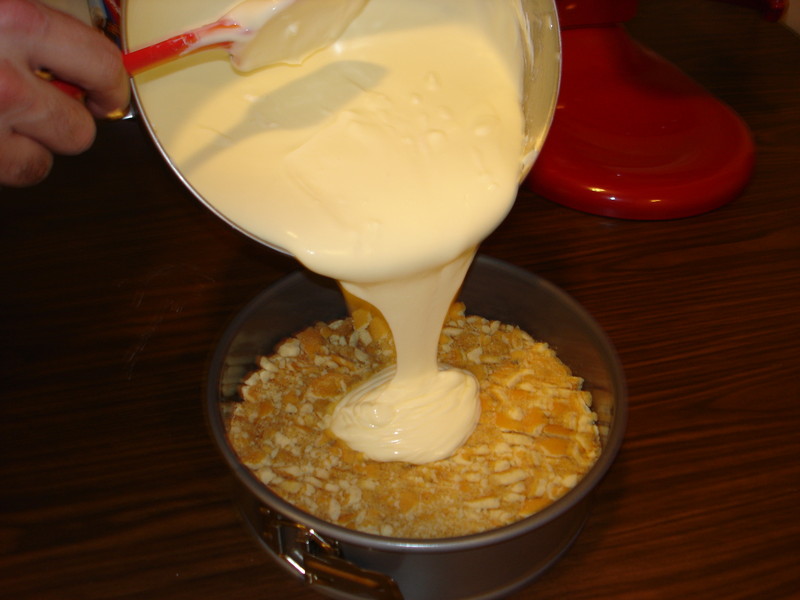
- Put approximately 1/2 of the cookie crumbs in the spring-form cake pan and pour the 1/2 cup of melted butter over them. Mix thoroughly by hand, add the second 1/2 of the crumbs and mix again. Spread the mixture out across the bottom of the pan, gently patting the mixture down and ensuring as even a thickness as possible.
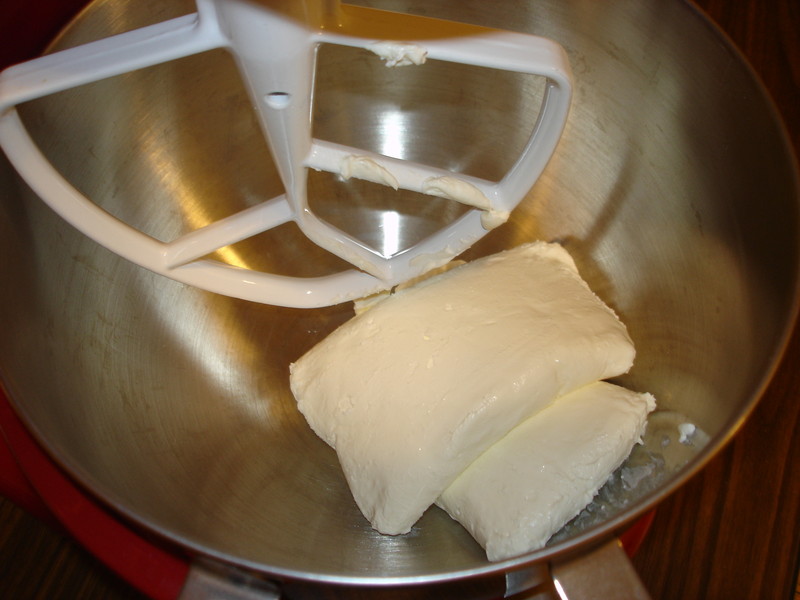
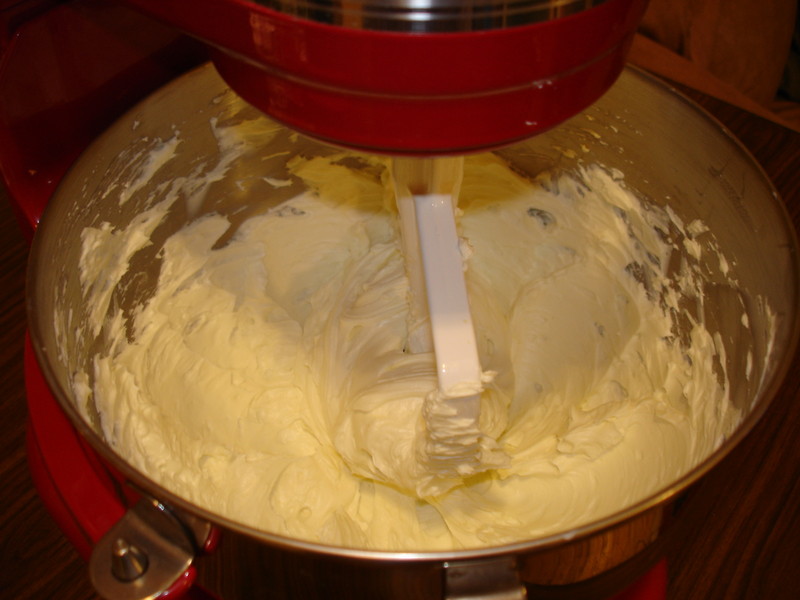
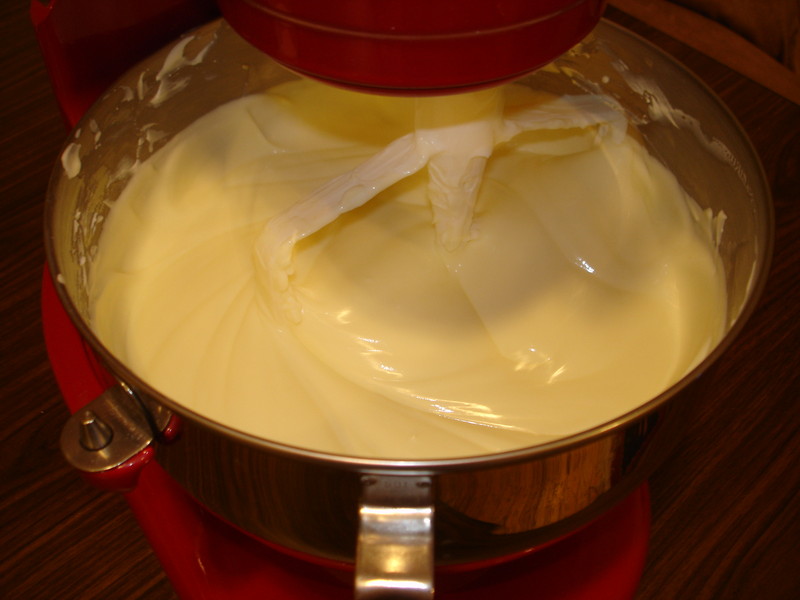
- To begin the batter, set up the mixer, add the cream cheese to the bowl, and stir briskly for 1 minute (speed 4). Clean the paddle and bowl with a spatula.
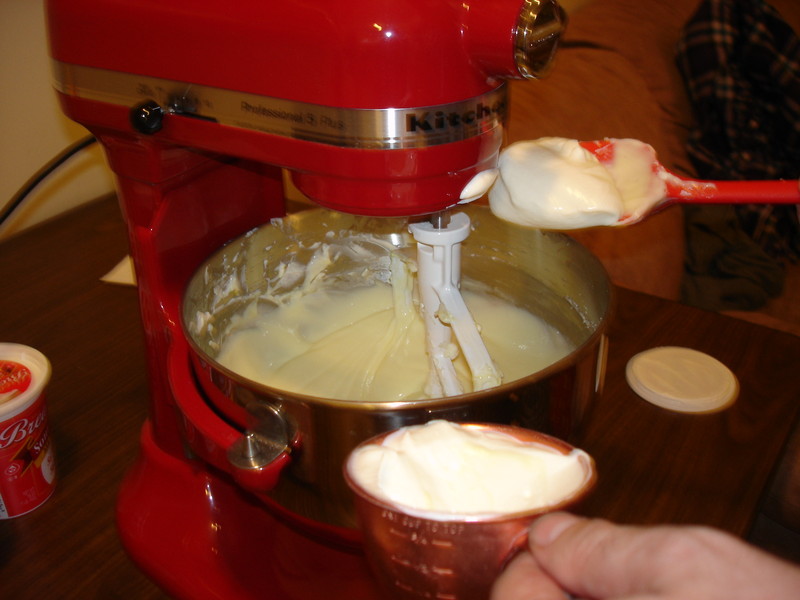
- Slowly add the sugar over 2 minutes while stirring quickly (speed 2). The cream cheese will start to smooth out and the ball stuck to the paddle will mix into the batter. Clean the bowl and paddle to get dense cream cheese into the mix, reducing the likely hood of lumps. Mix again for 1 minute.
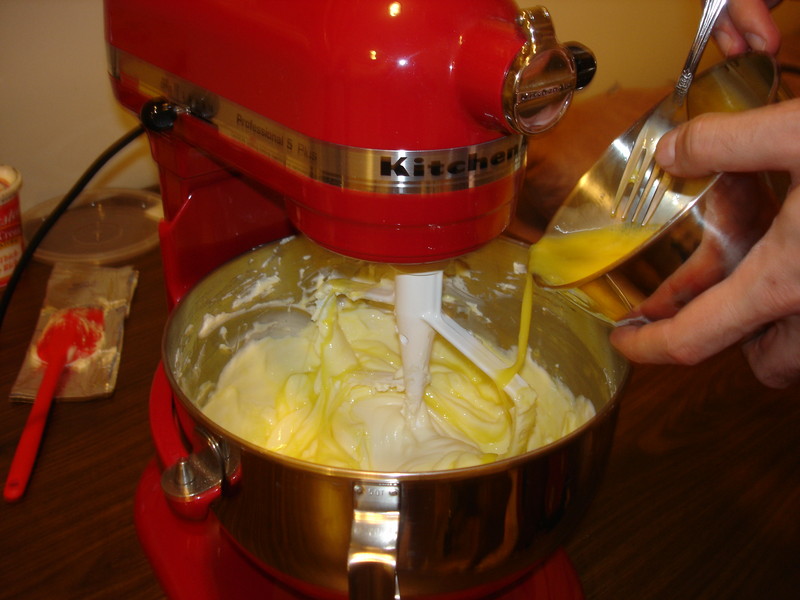
- Reducing the mixer speed to stir (speed 1), slowly add 1/2 the eggs. When the mixture is homogeneous, stop mixing, clean the paddle and bowl, then add the second half of the eggs while stirring again.
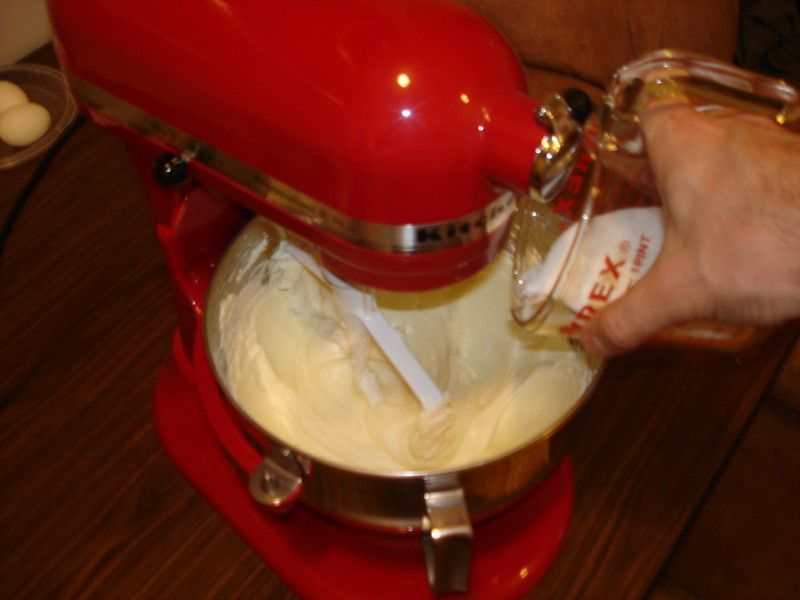
- Slowly add the sour cream to the mixture, measuring cup by cup, with each added portion mixing in fully to ensure a smooth mixture. When all the sour cream is added, the mixture will take on the consistency of warm yogurt. Clean the paddle and bowl one last time.
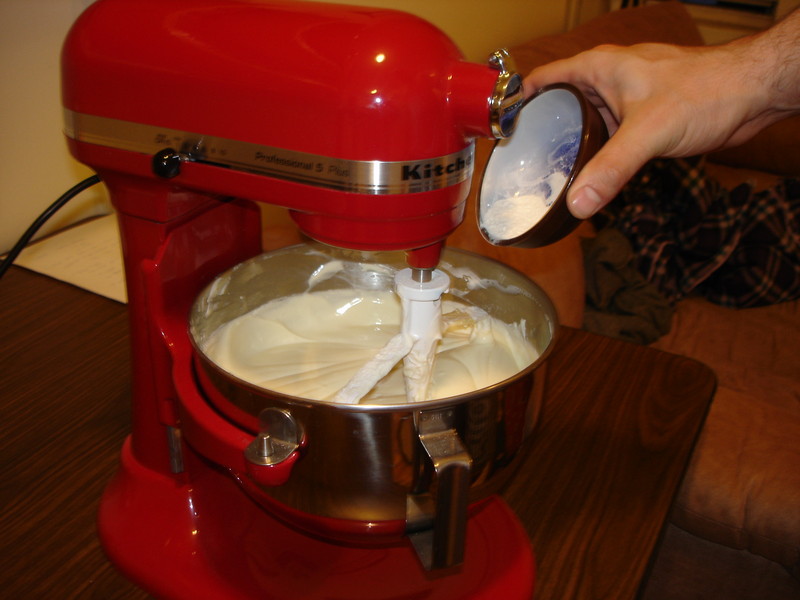
- While stirring, add the vanilla extract (we prefer to use a full teaspoon) and then the flour, each over the course of a minute so they do not bind to each other.
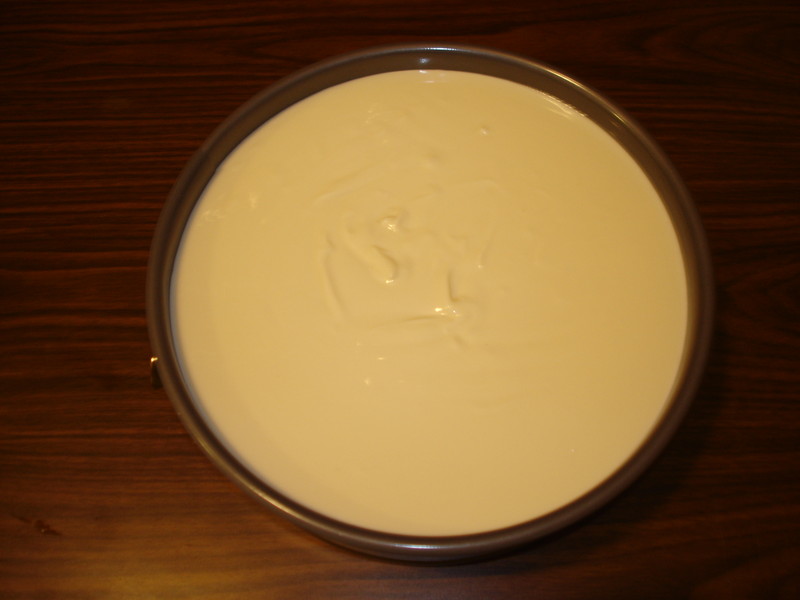
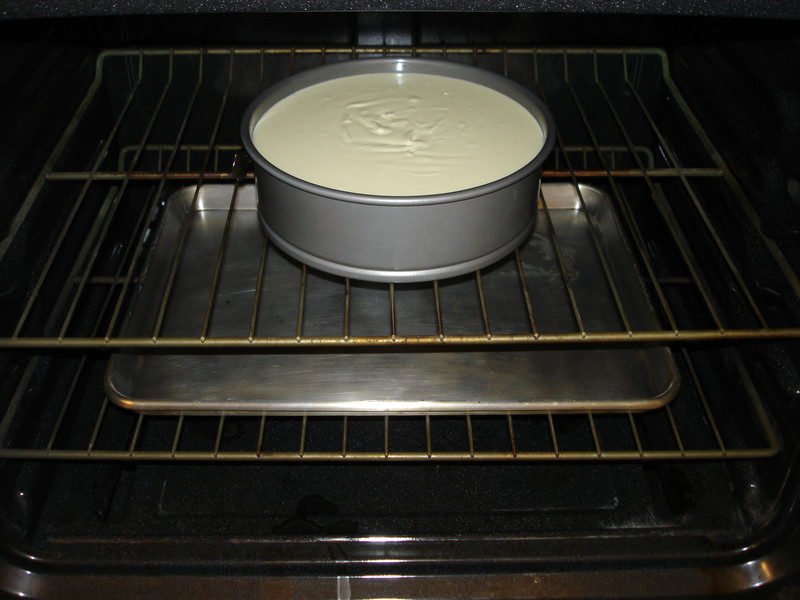
- We are nearly there! Stop the mixer and remove the bowl from the stand. Using the spatula to clean out the bowl, slowly pour the batter into the spring-form pan lined with the cookie bottom. The batter will level on its own.
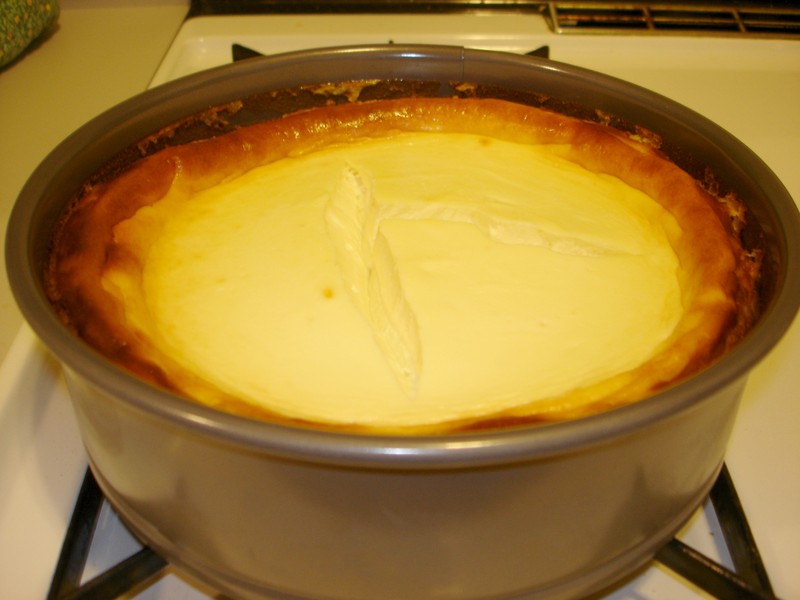
- Place the cake on the upper (centered) rack, with the cookie sheet on the rack below, and close the door. Set a timer for 45 minutes and find something to do until it is ready. Do not peek!
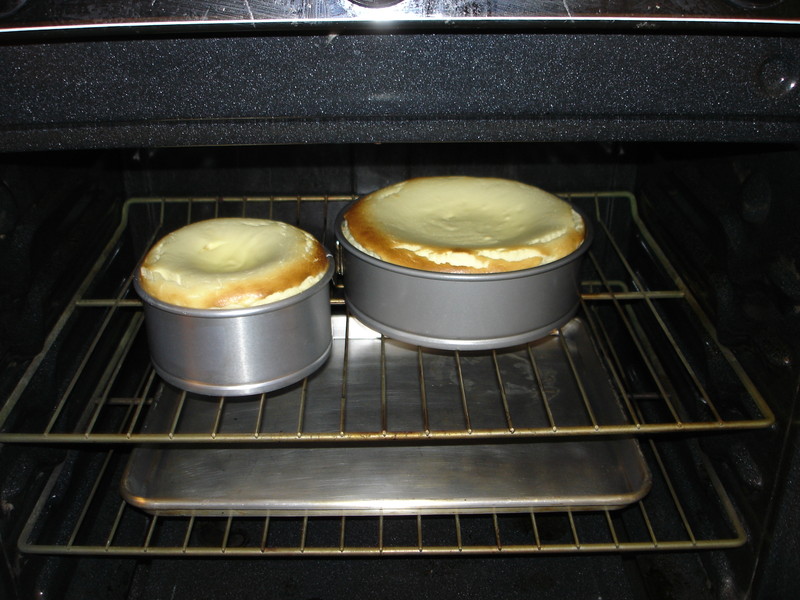
- After 45 minutes, open the door briefly to check on the cake. If it looks good, close the door and turn off the heat and let it sit for 15 minutes. If the edges have not yet turned a golden brown, allow to cook for 5 more minutes and check again. Up to 10 additional minutes of cooking time may be used, but be careful as this can easily result in a dried-out cake if it is over cooked.
- After 15 minutes in the oven with the heat off and the door closed, open the door to its first 'stop' and let it set another 15 minutes.
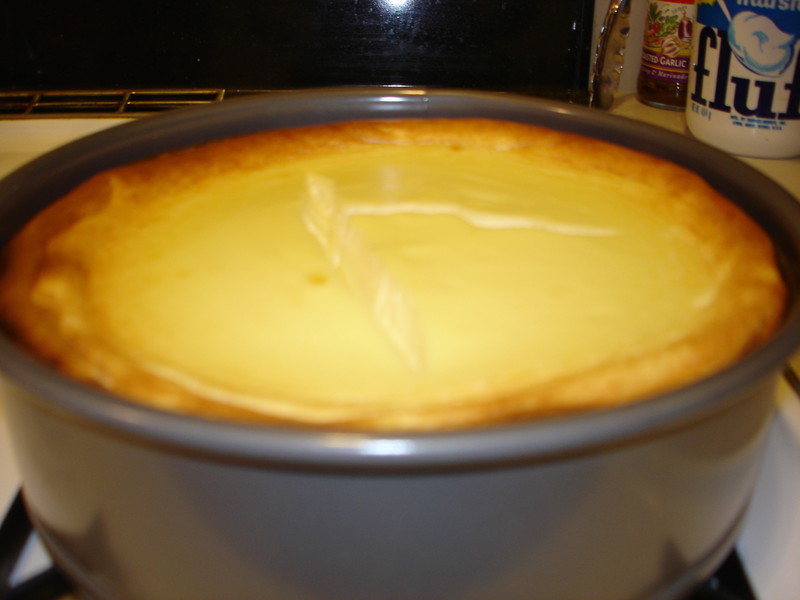
- Remove the cake from the oven and set on the range to cool to room temperature. This will require 2-3 hours. Do not accelerate this with a fan or by placing it on a window sill! if it has not done so already, the top of the cake will likely crack as it cools and desifies.
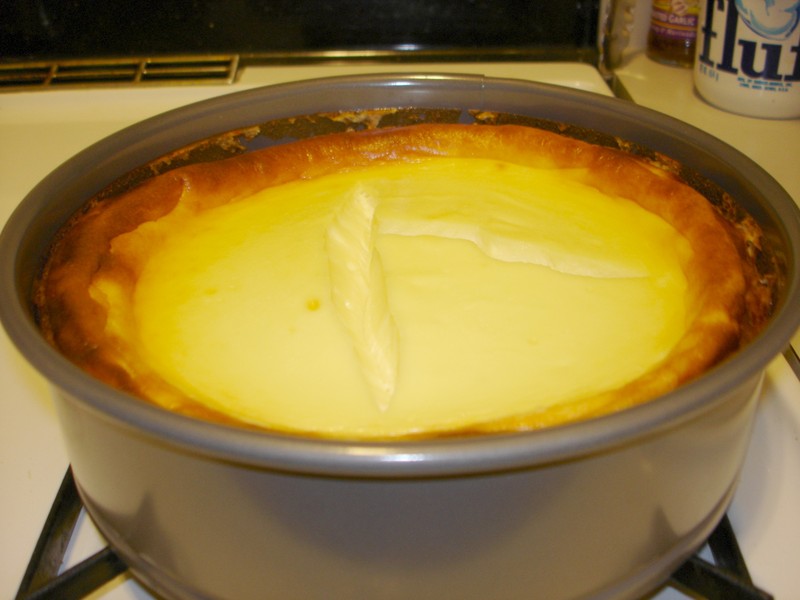
- Once at room temperature--and now about 1" shorter--cover the top of the cake with plastic wrap and refrigerate for at least 18 hours. Just as a good potato salad needs 24 hours for the flavors to 'marry', so to the cheesecake needs time to densify and do its thing.
- The cheesecake will densify a little more--up to another 1/2" since air cooling--in the refrigerator, and may be kept 1-2 days before serving. Before serving, skim a thin plastic utensil around the edge of the pan to release the side of the spring pan before removal. Do likewise to the bottom of the cake before transferring to another serving/transport surface.
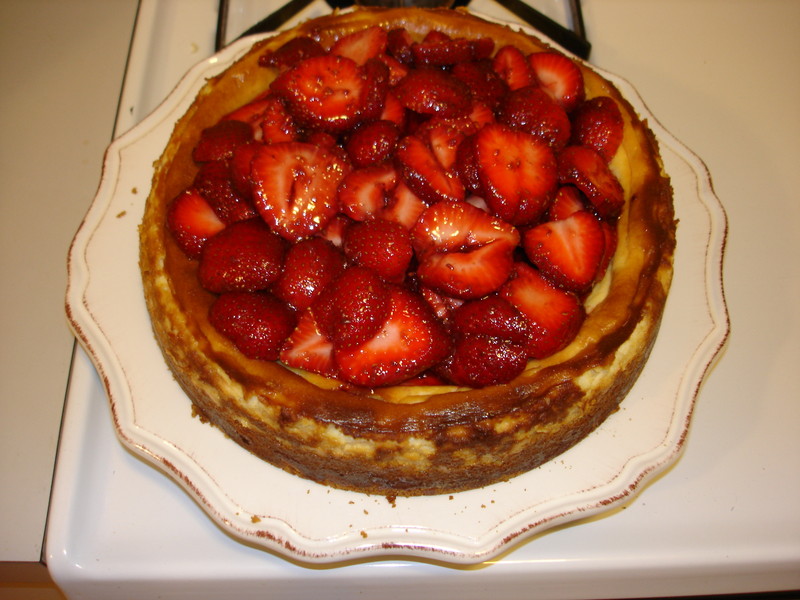
- Garnish as desired (fresh fruit is best), and serve the cheesecake! If served 1 day after cooking, the leftovers will be even better!
- Note: Mixing in flavoring is not really recommended, as toppings work best and are versatile for guests.
- Note: Baking two large cakes is a challenge. We found that cooking time at 350F increases to ~75 minutes, and towards the end we turned on the oven's convection fan. The edges were over-done, and the top nearly burnt around the edge while waiting for the centers to rise/cook. the cakes were quite good, but not great. A lower temperature with convection fan on throughout cooking may do better, as would making several smaller cakes (of course spring-form cake pans are not exactly cheap).
Recipe in pictures: